05 Jul 2015
I’ve just finished a significant rewrite of our Daily Optimiser app - hopefully in the App Store soon assuming it gets through the review process.
This was the first iOS app I wrote, and going back to the code after 12 months or so further learning it’s clear I’ve learnt a lot about mobile design and development during that time!
The code itself was actually pretty reasonable. Other than some improvements to the threading and callback model, there weren’t so many fundamentals I had to change.
However as a non-designer I think my understanding of what makes a well designed app is what’s changed the most.
Some fairly obvious (now!) observations on what I’ve tried to do in v2.0:
- More important screen elements should be larger and use more screen real-estate
- Stick to a small and consistent color palette
- A few small subtle animations can make a big difference
- Stick to standard design patterns and elements as much as possible
I think Daily Optimiser v2.0 is a big improvement on the first version - hopefully our users will agree!
15 Apr 2015
My first app written in Swift has now shipped and with the Apple Watch update now live too I think we can call it done.
So what did I learn?
Swift - good and bad
The Swift language itself is pretty well designed, and a LOT easier on the eye than Objective-C. The syntax is pretty similar to many modern languages and I think I became reasonably productive quite quickly.
The only downside is that most of the code I wrote was generally just interacting with the iOS frameworks, which aren’t particularly Swift-friendly right now. This means you spend a lot of time dealing with nullable pointers, and with all the slightly mysterious ?s, the code loses some of the readability gains.
Hopefully this will get better over time, any maybe this year’s WWDC will see some progress in making the frameworks a little more Swift-friendly? Let’s hope so.
Summary
I enjoyed using Swift, and almost certainly for any new apps starting from scratch I’ll use it.
However I don’t see there is enough - or any - real advantage in porting any existing Objective-C code so any existing apps that I’m working on I think I’ll keep that way.
Anyway, I learnt a lot and I hope you enjoyed following along!
Previous posts in the series
The code for the project is also available on GitHub
03 Apr 2015
Now Count The Days Left is in the App Store, I thought I should push out the next WatchKit enabled version just in time for anyone who’s getting on on the first day.
Issues shipping a WatchKit app
The release process was pretty smooth - well as smooth as any release to the AppStore is - with a few extra steps needed because of the WatchKit support.
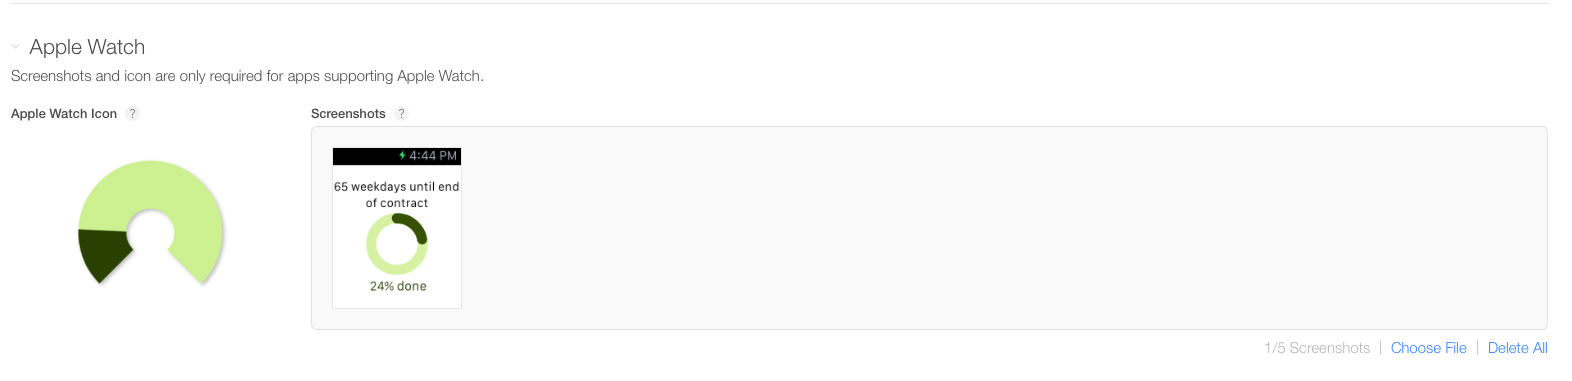
1. You need to add a new Watch icon and screenshots
Surprisingly the icon needs to be 1024px square, but I just reused the image I’d made for the main watch. The screenshots were easy enough to produce in the simulator.
2. No TestFlight support (yet?)
Bit of a pain this one - I suppose this may come later once the watch is out officially? Something to bear in mind if you want to test your app this way and have added WatchKit support.
3. All your version and build numbers must align
Another pain, as I was using a build script to auto-increment the build numbers for the main app - documented here. However there is no “Build Phases” section for the WatchKit App target in Xcode, so I had to remove the script and manually set the build numbers to all match.
There are full details on the Apple developer site on preparing your WatchKit app for release.
Next steps
All done I think, just need to write a summary blog post in a day or so.
Previous posts in the series
The code for the project is also available on GitHub
31 Mar 2015
v1.0.0 is finally in the App Store!
It was the usual wait of about 8 days from submission until release, and I still can’t find it from my phone.
However if you really can’t wait, this link should take you there.
Next steps
I’ve released a new version (v1.0.1) including the WatchKit additions I made, hopefully in time for all those lucky people who are getting new Apple Watches.
There were a few things I had to do to ship the extension, and the steps needed requires a separate post.
Previous posts in the series
The code for the project is also available on GitHub
22 Mar 2015
While v1.0.0 of “Count The Days Left” is waiting for review, I thought I’d have a play with getting a Apple Watch extension written for the app.
Simple is Good
Now as you probably know, the first version of WatchKit is very limited on what you can do in the UI. There are just a few standard controls, no way of writing your own, and any animation can only be done using image sets that are shown one after the other.
However the upside of this is it’s pretty quick to get up and running, and I’ve got something reasonable working after just an hour or so’s work.
Useful Links
Now there are lots of really good starter tutorials out there on getting up and running, so I’m not going to go into too much detail here, but here are a couple of articles I found particularly useful:
The thing that I thought was going to take the most time was generating the collection of images I needed for the animation of the progress circle. Fortunately I found a link to this Radial/Ring/Circle Progress Chart Generator for Apple WatchKit on GitHub which did exactly what I wanted!
Here’s a screenshot from the Watch Simulator with what the app looks like right now:
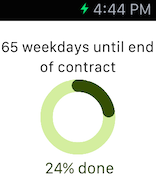
I haven’t found a way of capturing the animation to show here as the progress circle moves into position, but on the simulator at least it works pretty well.
Next steps
Well I think I’m just about done!
I’ll probably write a summary article wrapping everything up once the app is safely released in the App Store.
Previous posts in the series
The code for the project is also available on GitHub