I bought a Raspberry Pi 3 last week, mainly because I wanted to setup a small AirPrint server (so I could move my seldom used printer to somewhere away from my desk), but also
because they are cool!
Setting up the AirPrint server was pretty easy, and there are plenty of guides already on how to do this
(basically install and configure CUPS to get the printer working, and then the avahi-daemon service
to expose as to Airprint.)
I’ve also been thinking of other things I can do now I have a low-powered but always-on Linux server in the house,
and my first project was a simple web site checker that will periodically ping my web sites and send a Slack message
if any are down.
Now I wouldn’t use this for commercial websites, but for my Digital Ocean hosted sites - which are very reliable to be honest -
it’s nice to have a little bit of monitoring for free just in case they are having problems.
The NodeJS/JavaScript code is all on GitHub if you’re interested.
In my last post, I mentioned how the one missing piece in my slightly crazy Alexa->Todoist->IFTTT->Notification Shopping List System
was being able to open the specific ‘Alexa Shopping List’ project in Todoist when I’m near the local supermarkets.
Looking through the Todoist API, I realised I can generate a link that will open a specific Todoist project
e.g. “todoist://project?id=183977037” where the id parameter is the specific project id.
As far as I can tell the only way of finding the project id is my calling the API to get my project details and inspecting the JSON e.g.
So now, rather than send an iOS notification from IFTTT, I send a message to Slack containing the Todoist link.
Obviously that means when I get the Slack notification on my phone, I can simply click on the link in the message and go straight to where I want in Todoist.
Happy days!
The idea of using Slack as a universal notification system is really powerful. There are so many easy ways of hooking up applications into Slack (and it’s easy to write your own)
and I’ve already got lots of ideas on how I can use this pattern in different ways to send relevant alerts from different services.
As I mentioned before, I’m absolutely loving my Amazon Echo, and am addicted enough to reliable voice input to have
added an Echo Dot in my home office.
Probably my favorite use is the Todoist integration that lets you add tasks both
your To Do list and your Shopping List into Todoist directly simply by speaking to Alexa.
However there was one flaw in doing this - I kept forgetting to check the shopping list when I was at the supermarket ☹
Now in where I live in Hexham (in North-East England), "going shopping" generally means going to one of the two main supermarkets (Tesco or Waitrose),
which luckily for my purposes are pretty close together. Therefore I had the brilliant idea of
firing a location-based alert whenever I was near either of the supermarkets to remind me to check the shopping list in Todoist.
I was half-considering writing my own simple iOS app to trigger the location-based notification, but then realised that IFTTT
has got the facility to do precisely this!
The steps to set this up are pretty simple …
Install the IFTTT app on my phone
Enable the "iOS Location settings" service on IFTTT
Enable the "Notifications" service on IFTTT
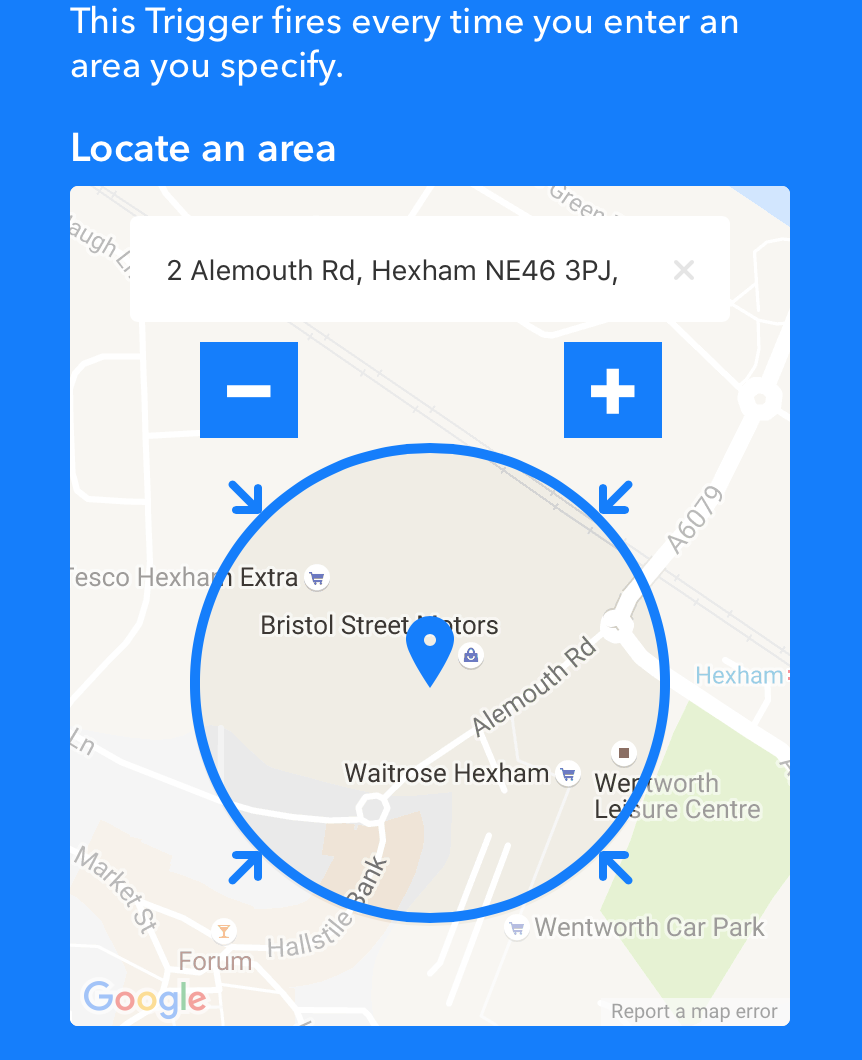
Create an IFTTT applet that triggers at a specific location (i.e. near the supermarkets), and when it does send me an iOS notification reminding me about the shopping list.
Setting the location trigger is a bit fiddly using the web-based interface, but I managed to set it up just right as you can see from the screenshot below:
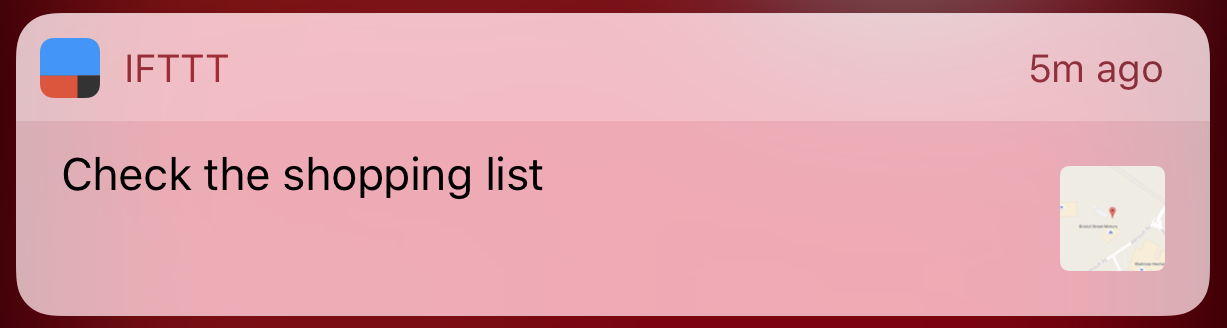
This whole convoluted setup actually works pretty reliably, and every time I get near to either Tesco or Waitrose I get a ping on my watch and phone reminding me to
"Check the shopping list" …
In an ideal world, I could set the action on the notification to open Todoist in the ‘Alexa Shopping List’ project directly, but maybe IFTTT will enable that in the future?
All in all, clearly this whole Heath Robinson system is slightly over the top, but it works very well for me!
I recently bought an Amazon Echo, which I absolutely love. It’s great in the kitchen as a hands-free music player, as the speaker is really good, and has replaced
the slightly unreliable Siri completely for setting timers when cooking.
Obviously I wanted to develop my own Alexa skill, so I’ve built one to tell me about the latest Halesowen Town scores and fixtures information.
Right now there’s almost certainly an audience of one for it, but it makes me very happy!
Here’s a video showing the exciting things it does …
Technically the easiest way to write a skill is on AWS Lambda, Amazon’s on-demand compute engine. Alexa skills
can run on Lambda with minimal setup, and looks a lot easier than running code on your own server.
The Alexa Skills SDK explains pretty well how to get set up - not always a given on Amazon’s platforms in my experience -
so I won’t repeat anything here that isn’t covered in detail in the documentation.
In essense, to get your skill running you have to complete the following tasks:
Add a list of intents you want your skill to answer
You can add custom content slots for known lists of names (think Enum) e.g. I have a list of teams in Halesowen’s league to match against
Add sample phrases which will match to each of your intents
The content slots are used here e.g “FixtureIntent when is the game against {Team}”
Point to where the skill code runs
Trivial to do if you are using AWS Lambda, but you can use your own https server with a bit more effort
Upload your skill code in your AWS Lambda functions
The code can be written in Python, Java or Javascript/NodeJS - I chose the latter as I prefer the easy extensibility.
The example skill code for Lambda is pretty easy to understand and adapt as necessary. Note you can
either update the code directly in the browser-based Lambda console, or upload a ZIP file containing your code. The latter is much preferable if you have any node modules you want
to include in your solution.
My code simply loads existing JSON data from my server used in the iPhone/Android apps for the fixtures, results and latest score, parses it appropriately based on the user’s intent,
and then returns a string which the Echo reads back to the user.
The voice recognition accuracy isn’t too bad - I suspect it struggles because of the slightly obscure names of some of the teams in the Northern Premier League!
All in all, it was pretty easy to knock together something based on existing data, and it’s really cool to be able to ask Alexa what the latest Halesowen score is. I look forward to
be able to do this on Siri in about 3 years time at Apple’s currently glacial pace of opening up their systems.
Now that iOS10 is out I thought it was about time I built an iMessage app for Count The Days Left.
To be honest, it took very little time once I’d written a script to generate all the “progress images” I needed i.e. 100 images that show the percentage
completed in the progress bar.
The UI is just a standard Storyboard + UIViewController for layout, and then hooking up an event handler to a ‘Send Message’ button (see below for details).
    @IBAction func sendMessageTouchUp(sender: AnyObject) {
        if let conversation = self.activeConversation {
            let now: NSDate = NSDate()
            let model: DaysLeftModel = DaysLeftModel()

             // Make a new layout object
            let layout = MSMessageTemplateLayout()

            // Set the caption on the layout
            layout.caption = model.FullDescription(now)

            // Set the correct image on the layout
            let percentageDone: Float = (Float(model.DaysGone(now)) * 100.0) / Float(model.DaysLength)
            let intPercentageDone: Int = Int(percentageDone)
            let imageName = String(format: "progress%d", intPercentageDone)
            layout.image = UIImage(imageLiteral:imageName)

            // Make a new message and set its' layout
            let message = MSMessage()
            message.layout = layout

            // Insert the message into the conversation
            conversation.insertMessage(message, completionHandler: { (error: NSError?) in
                print(error)
            })
        }
    }
Other than the usual fun with making everything look OK with Storyboards and Auto Layout at the different screen sizes, it all
worked out pretty well as you can see from the screenshot below:
I’m not sure how useful this will be, but it was very easy to build and I’m pleased with the result.