A Today Widget in Swift
18 Feb 2015
Making a widget to show on the Today notification screen is pretty straightforward, and as I’d done it before it was pretty quick to do this.
However there are a few steps that must be done correctly for this to work, so it’s probably useful for me to document them here so I remember quicker next time.
Putting shared code in an embedded library
The easiest way of sharing code between the main app and the today widget is to put the shared code in a separate library, which can then be linked to by both targets.
Adding a new target to your project via the “Editor->Add Target…” is the simplest way, and you need to select an “iOS/Framework & Library/Cocoa Touch Framework” template. I tried choosing the static library type, but that only offered me an Objective-C project type which didn’t seem correct even though the data code I’m sharing uses the Foundation code and is non-UI.
After adding the new target, it’s then easy to move the existing files - for me the data model code that’ll be shared in both the app and the widget - into the new target by making sure the files are references in the “Compile Sources” section on the “Build Phases” tab of the target properties (and obviously removing from the original target)
Finally, you’ll need to check the “Link Binary with Libraries” sections for all the targets reference the new library as appropriate, and then the Swift code has the appropriate import daysleftlibrary code to reference the library code
Setting the app group for the user settings
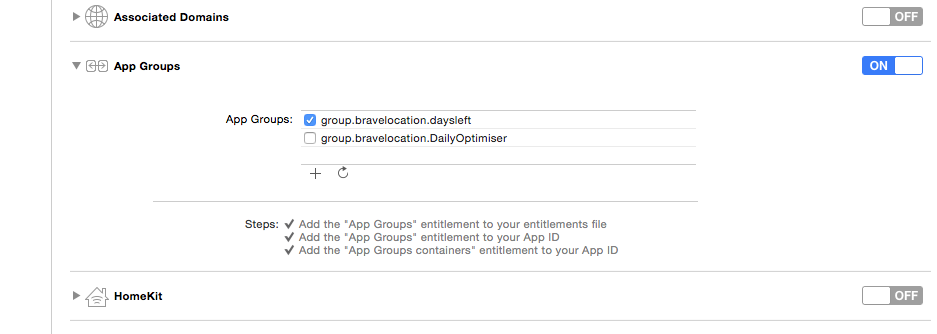
To allow two different targets access to the same user settings, they need to reference the same App Group where the preferences are hold.

Once that’s done, you also need to reference the group name as the suiteName parameter in the constructor of your NSDefaults object
Setting the widget title in the Today screen
By default, the title of the widget in the Today screen will take the target name, which for me was the ugly “dayslefttoday”. To be able to override this you can set the “Bundle display name” target property to the required string

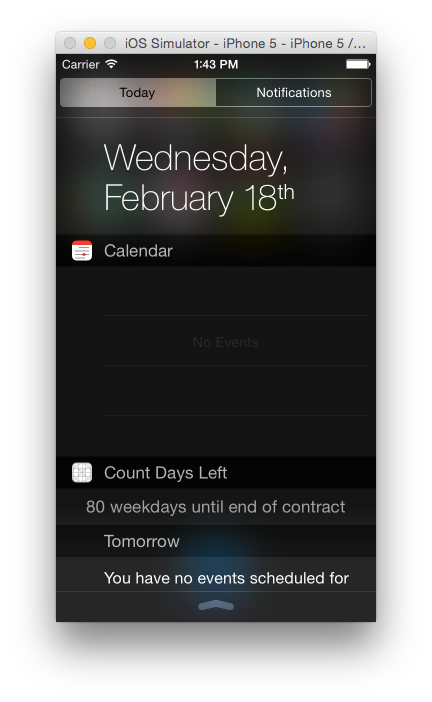
You can see the results of this stunning widget below:

Next steps
Undecided yet whether to have a play with the WatchKit, or with some animations in the main app. Stay tuned :)
Previous posts in the series
The code for the project is also available on GitHub
